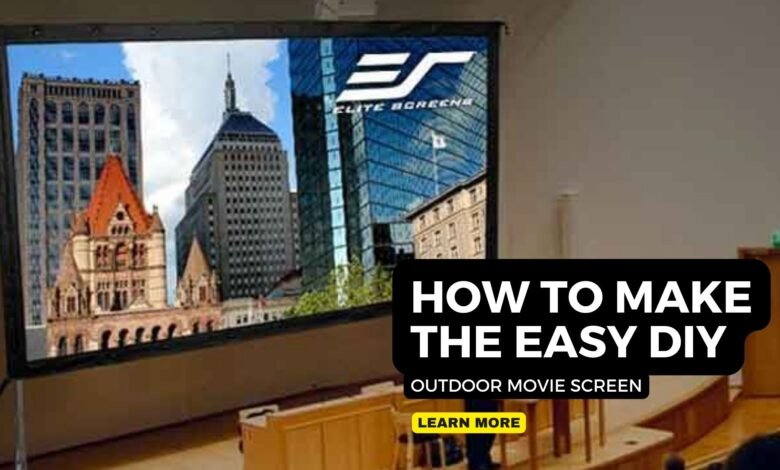
Outdoor movie nights are an unforgettable experience, combining the magic of the big screen with the comfort of your own backyard. Whether you’re hosting a family movie marathon or a party with friends, having the perfect outdoor movie screen is key to creating that immersive cinematic experience. Instead of spending a lot of money on a commercial screen, you can easily build a DIY outdoor movie screen with a few basic materials. In this blog, we’ll guide you step-by-step on how to create your own outdoor movie screen, making it affordable, fun, and highly functional.
What You Need to Know Before You Start
Before diving into the project, it’s important to understand the basics of what makes an effective outdoor movie screen. The main things to consider are:
- Screen Size: The size of your screen will depend on your available space and the distance from where viewers will sit.
- Screen Material: Choosing the right material is crucial to achieving optimal image quality. A white or gray fabric works best for creating high-contrast projections.
- Frame Structure: You need a sturdy structure to hold the screen taut and straight to ensure the image doesn’t warp or wrinkle.
- Location: Make sure the area you choose for setting up your screen is relatively flat and has minimal ambient light to avoid distractions from streetlights or other light sources.
Once you have these basics covered, you’re ready to begin building your DIY outdoor movie screen.
Step 1: Choose the Right Material
When selecting the material for your DIY outdoor movie screen, it’s essential to focus on durability, texture, and color. Here are some material options to consider:
- White Canvas or Projector Fabric: One of the most popular choices for DIY screens is white canvas or projector fabric. These materials have a smooth surface and are easy to stretch across a frame. Projector fabric is specifically designed to enhance image clarity and brightness.
- Blackout Cloth: Blackout cloth is another excellent option. It’s designed to block light and prevent any unwanted shadows or light bleed on the screen.
- Spandex or Lycra: If you want a more flexible, wrinkle-free option, spandex or lycra fabric is a great choice. It can be stretched tightly over the frame, ensuring a smooth, even surface for your projections.
No matter what material you choose, make sure it is large enough to accommodate your desired screen size. You’ll need at least a few feet of extra fabric on each side to allow for proper stretching.
Step 2: Build the Frame
The next step in your DIY outdoor movie screen project is constructing the frame. You’ll need a frame to hold the fabric taut and prevent sagging. Here are a few methods for building the frame:
Option 1: PVC Pipe Frame
A PVC pipe frame is lightweight, inexpensive, and easy to assemble. Here’s how you can create a frame using PVC pipes:
Materials Needed:
- PVC pipes (4 pieces for the vertical frame, 4 for the horizontal frame, and 4 for the corners)
- PVC pipe connectors (T-joints and elbows)
- PVC pipe cutter or hacksaw
- Strong adhesive or PVC cement
- Measuring tape
Instructions:
- Measure the Desired Screen Size: First, decide on the width and height of your screen. A 100-inch diagonal screen is a common choice for many DIYers.
- Cut the PVC Pipes: Measure and cut the PVC pipes to the correct length, ensuring the frame matches your desired dimensions.
- Assemble the Frame: Use the connectors to join the pipes into a rectangular or square shape. Make sure the corners are square to ensure the fabric will hang evenly.
- Reinforce the Frame: To make your PVC frame more durable, you can add support bars across the middle of the frame. This will help prevent sagging.
- Attach the Fabric: Once the frame is complete, stretch your fabric tightly over the frame and use clips or Velcro to secure the edges. Make sure it’s taut to avoid wrinkles and distortion in the projection.
Option 2: Wooden Frame
For a more sturdy option, you can build a frame using wooden beams. This method is perfect for a more permanent setup but requires more tools and experience.
Materials Needed:
- Four wooden beams (for the frame)
- Wood screws
- Drill
- Measuring tape
- Stapler or screws for attaching fabric
Instructions:
- Measure and Cut the Wood: Cut your wooden beams to the desired screen size.
- Assemble the Frame: Drill screws into the corners to create the frame. Make sure it’s square.
- Attach the Fabric: Stretch the fabric over the frame and secure it with a stapler or screws to keep it tight.
- Reinforce the Frame: Add a few extra pieces of wood across the middle to keep the frame from bowing.
Step 3: Set Up Your Screen
Once you’ve built the frame and attached your fabric, it’s time to set up the screen for outdoor viewing.
- Position the Frame: Choose a location that’s free of obstacles and has enough space for your large screens for projectors. A flat surface is ideal for the frame.
- Stabilize the Frame: To keep the frame steady in outdoor conditions, especially if there’s wind, consider using sandbags, stakes, or guy ropes to secure the frame to the ground.
- Height Adjustment: The optimal height for the screen depends on the seating arrangement and viewer comfort. The center of the screen should ideally be at eye level when seated.
Step 4: Set Up Your Projector
To get the best picture quality, you’ll need to set up your projector correctly. Here are some tips for ensuring a bright and clear projection:
- Projector Placement: Set up the projector at a distance that allows for a sharp and clear image. The distance will depend on the size of your screen and the projector’s throw ratio.
- Ambient Light: Try to minimize ambient light by waiting until dusk or evening to start the movie. If that’s not possible, consider using blackout curtains to reduce light pollution.
- Adjust Focus and Keystoning: Once the projector is in place, adjust the focus and keystone settings to ensure a crisp image.
Step 5: Enjoy Your Outdoor Movie Night
Once everything is set up, you’re ready to enjoy a fun and memorable outdoor movie night! Set up comfy seating like blankets, cushions, or chairs for your guests, and get the popcorn ready. Elite Screens Inc. is a US based sales company with local inventory and customer support. They offer a wide array of projection screens for the commercial and residential audio-visual markets.
By following these simple steps, you can create a fantastic DIY outdoor movie screen that will impress your friends and family. Whether for a one-time event or regular outdoor movie nights, this screen will provide an incredible viewing experience that rivals commercial screens, all at a fraction of the cost.
FAQ Section
1. Can I use a white sheet for my outdoor movie screen?
Yes, a white sheet can work as an inexpensive alternative to dedicated projector fabric. However, it may not offer the same level of image quality and durability.
2. What is the best projector for outdoor movie nights?
Projectors with a high lumen rating are best for outdoor movie nights since they can deliver brighter images. LED and DLP projectors are also good choices for their portability and ease of use.
3. How do I keep my DIY outdoor movie screen from sagging?
To prevent sagging, ensure that the fabric is stretched tightly and that the frame is sturdy. Consider reinforcing the frame with additional support bars if necessary.
4. What should I do if the weather changes?
If you’re planning an outdoor movie night, be prepared for weather changes. You can use a tarp or tent to protect the screen and projector, or simply bring the equipment indoors if needed.
5. Can I use a DIY outdoor movie screen for permanent outdoor use?
While you can make a more permanent outdoor screen by using a wooden frame, be mindful that outdoor conditions (rain, wind, etc.) may affect the longevity of the screen. For long-term use, it’s a good idea to use a high-quality, weather-resistant fabric.