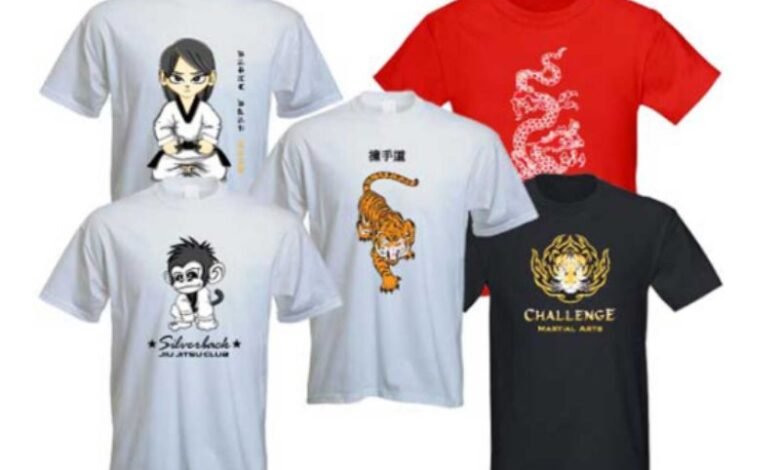
Custom-class T-shirts are more than just shirts; they are a statement of pride and unity. They help students come together to demonstrate experiences and accomplishments. These shirts unite students by highlighting their common accomplishments and interests. These class t shirt become treasured keepsakes that students will remember long after their education.
Choosing The Best Copy for Your Class T-shirt
The Importance of the Font Style in the Mood and Spirit
A good font for your t-shirt, if chosen correctly, is definitely going to help set the tone. A bold, blocky font would probably express strength and determination for the perfect graduating class. In contrast, a script font can bring some elegance and sophistication.
Tips in Choosing the Right Text Size and Colour for Readability and Impact
Size Matters: Make sure your text is large enough to be read from a distance, but not so large that it overpowers your design. In general, larger type works for shorter phrases or key years; “Class of 2024” reads easily.
Colour Choices: Make sure your colours contrast with the base colour of the shirt. White text on dark blue is classic and clear; black text on light grey can be more subtle but still impactful.
Examples of famous, catchy, and meaningful phrases to print on your t-shirt for class:
- Together We Achieved
- Proud Senior, Bright Future
- United in Excellence
Add Graphics to Represent Class Spirit and Reminiscence
Guidelines for Choosing Appropriate Graphics for Class Identity and Heritage
The text is important, but equally important is to select the proper graphic. It has to speak to the spirit of the class. Maybe a lion or eagle represents strength and courage as the school mascot. Maybe a graphic of the building or a landmark that brings nostalgia.
How to Balance Graphics with Text Without Overcrowding the Design?
Consider the centre of the shirt as a location for your main graphic, or put it off to the side for a modern twist. Make sure that the graphics complement the text and do not work against it. For example, if the main text reads “Class of 2024,” add a smaller graphic below or above it to reinforce the message, not overshadow it.
Use of School Colours and Mascots in Graphics
- Use school colours to bring familiarity and pride to your design. If your school colours are red and gold, a graphic in those colours ties the design to your school’s identity.
- When using mascots, have them placed so that they appear to be helping the text. A mascot facing towards the text can lead the viewer’s eye around the shirt.
Design Techniques for Combining Text and Graphics Seamlessly
Ways of Layering Text and Graphics and Creating a Unified Look
To create a seamless class t-shirt design n, all elements need to be put into place with precision. Here are some ways you can combine
- Overlay Techniques: Text can be overlaid on a faint graphic. For example, the year “2024” is overlaid on a light opacity image of the school.
- Bordering Elements: Ornamentally frame or border your text with graphic elements. Great for a decorative look that is still unified.
Use of Contrast and Spacing to Add Interest to Overall Design
- Contrast for Clarity: Ensure that there is a good contrast between the text and the background. Light text should be used with a dark graphic, and dark text should be used with a light graphic.
- Balance in Spacing: Try to evenly distribute the elements of your text and graphics. Balance the space around elements; do not make the design feel overcrowded.
Tips on Element Arrangement to Maintain a Good Visual Balance and Symmetry
- Centre your main text for symmetry.
- For very large graphics, the text could be placed in a clear area or incorporated within the graphic itself.
- Smaller text or extra graphics can be used to fill up the empty spaces without overcrowding them.
The Best T-Shirt Material and Colour to Choose for Your Design
Factors to Consider in Choosing the Fabric for T-Shirt Printing
Choosing the right fabric for class T-shirts will be very important for comfort and quality design. Here’s what you need to consider:
- Cotton: It is completely pure, soft, and breathable, making it the ideal choice for comfort. It will allow the design to hold ink and let it last long and bright.
- Polyester: This is another very strong fabric and is highly shrink- and wrinkle-resistant. It is excellent for vibrant and sublimated prints.
- Blends: They offer the best of both worlds. Cotton’s comfort, but durability like polyester.
Choosing T-Shirt Colours That Complement Your Text and Graphics
The colour of your t-shirt can either make or break the appeal of your design. Here are a few tips to consider:
- Contrast is Key: Choose shirt colours that will make your text and images pop. For instance, the white print on a dark blue shirt is classic and readable.
- Theme Matching: Match the colour of the shirt with your school colours or the theme of your design. For instance, if the school colours were green and gold, you might have a green T-shirt with the text in gold.
Using Design Software and Tools to Bring Your Ideas to Life
Overview of Popular Design Software for T-Shirt Design
Following are a few user-friendly software with which you can design your class t-shirt:
- Adobe Illustrator: Ideal for designing vector graphics that will remain clear at any size.
- Canva: Easy-to-use design tool with templates, awesome for newbies.
- CorelDraw: Perfect for complex designs and graphic sketches.
Step-by-Step Using These Tools to Design a Class T-shirt
- Choose Your Tool: Start with software that’s appropriate for your skill level. Canva is for beginners, and Illustrator is for the advanced level.
- Set Up Your Workspace: Open a new document that would be close to the normal dimensions for a T-shirt graphic, say, 12″ x 16″.
- Design in Layers: Place text and graphics on separate layers so you can edit each without affecting the other.
- Apply Colours: Apply your chosen colours in the software to get a realistic feel of the final look.
- Preview and Edit: Almost all software will allow a preview option on a virtual t-shirt; use it to fine-tune details on your design.
Collaborating with Classmates on Finalizing the T-Shirt Design
Strategies to Involve Classmates in Design
Here are some ways to ensure the class t-shirt design reflects the whole class:
- Online Polls: Use tools like Google Forms to take votes for different designs.
- Feedback Sessions: Share designs with your class or through group messages. Ask for constructive criticism to iterate on the design.
How to Organize Feedback and Voting on Design Proposals?
- Share Designs Broadly: Email or post your designs so that all classmates can see them.
- Set a Deadline: Allow your classmates a few days within which to provide feedback or vote.
- Review Feedback: Collect all reviews and votes, and then analyse whether the design needs to be tweaked.
- Finalize the Design: Choose the design with the most positive feedback or the highest votes.
Preparing Your Design for Printing
Essential Considerations for Bringing Your Design into a Printable Format
Before preparing a design to be sent to the printer, ensure that it meets these requirements:
- Resolution: Keep your design at 300 dpi to keep it sharp.
- Format: Save your work as a PNG or PDF. This is what most of the printers have requested.
- Size: Make sure that the design size matches the requirements of your printer. The typical print size is 12″ x 16″.
Overview of Printing Process and What Is Expected from Printing Services
Here is what happens when you submit your class t-shirt design:
- Proofing: Your design will be reviewed by the printer to produce a proof. It is your responsibility to check this proof for any mistakes or changes.
- Approved: After you have approved the proof, the printer will commence work on the print order.
- Printing: Design is imprinted on the t-shirts using techniques such as screen printing or digital printing.
- Delivery: The T-shirts undergo quality checking and are delivered to you after printing.
Also Read:- Pink and Blue Hellstar Shirts A Blend of Style and Comfort


