
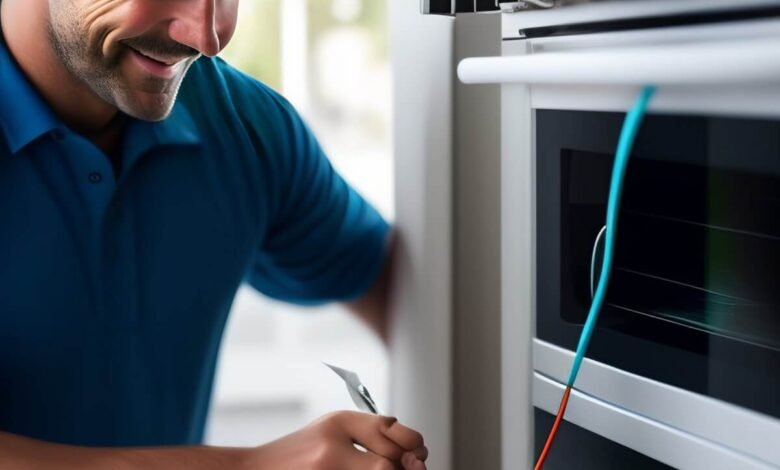
Electric stove repair are a staple in modern kitchens, prized for their convenience and efficiency. However, like any household appliance, they can experience issues that require repair. Knowing how to address these problems can save you both time and money. This comprehensive guide will cover common problems, necessary tools, and step-by-step repair instructions to help you get your electric stove back in working order.
Common Electric Stove Problems
- Burner Not Heating: One of the most frequent issues is a burner that doesn’t heat up. This could be due to a faulty burner, a poor connection in the burner socket, or a defective switch.
- Inconsistent Heating: If a burner heats inconsistently, it may indicate a loose or corroded connection.
- Burner Overheating: A burner that gets too hot regardless of the setting usually points to a faulty switch.
- Oven Not Heating: If the oven isn’t heating, it could be due to a malfunctioning bake element, broil element, or a faulty thermostat.
- Error Codes: Modern electric stoves often display error codes to indicate issues such as temperature sensor failures or control board problems.
Tools Required for Electric Stove Repair
To successfully repair an electric stove, you’ll need the following tools:
- Screwdrivers (both Phillips and flat-head)
- Multimeter (for checking electrical continuity)
- Pliers
- Nut drivers
- Wire strippers
- Replacement parts (burners, elements, switches, etc.)
Safety Precautions
Safety is crucial when working with electrical appliances. Here are some important safety tips:
- Disconnect Power: Always unplug the stove or turn off the circuit breaker before starting any repairs.
- Wear Safety Gear: Use safety gloves and goggles to protect yourself from electrical shocks and debris.
- Work in a Well-Ventilated Area: Ensure good ventilation to avoid inhaling any fumes from cleaning agents or burnt components.
Step-by-Step Electric Stove Repair
1. Diagnosing the Problem
- Burner Issues: If a burner isn’t heating, try swapping it with another burner of the same size. If the new burner works, the original burner is faulty and needs replacement. If the new burner doesn’t work, the issue lies with the burner socket or switch.
- Oven Issues: For oven heating problems, visually inspect the bake and broil elements for damage or breakage. Use a multimeter to test for continuity. If there’s no continuity, replace the faulty element.
2. Replacing a Burner
- Remove the Burner: Lift the faulty burner slightly and pull it out of the socket.
- Inspect the Socket: Check the burner socket for signs of burning or corrosion. If it looks damaged, it needs to be replaced.
- Install the New Burner: Insert the new burner into the socket and ensure it sits firmly.
3. Replacing a Burner Socket
- Access the Wiring: Remove the screws holding the stove top in place to access the wiring underneath.
- Disconnect the Old Socket: Note the wire connections and disconnect the old socket.
- Install the New Socket: Connect the new socket using the same wire connections and reassemble the stove top.
4. Replacing a Switch
- Remove Control Knobs: Pull off the control knobs to access the screws holding the panel.
- Access the Switch: Remove the screws and pull out the panel to expose the switches.
- Disconnect the Faulty Switch: Note the wire connections, then disconnect and remove the faulty switch.
- Install the New Switch: Connect the new switch using the same wire connections and reassemble the panel.
5. Replacing Oven Elements
- Remove the Element: Unscrew the mounting screws and pull the element slightly out to access the wire terminals.
- Disconnect the Wires: Note the wire connections and disconnect the wires from the faulty element.
- Install the New Element: Connect the new element using the same wire connections and secure it with the mounting screws.
6. Addressing Error Codes
- Consult the Manual: Refer to the stove’s user manual to decode the error message.
- Inspect the Indicated Components: Follow the manual’s troubleshooting steps to inspect and possibly replace the faulty components.
When to Call a Professional
While many electric stove repairs can be handled with basic tools and knowledge, some situations require professional expertise:
- Complex Electrical Issues: Problems involving the control board or extensive wiring issues should be handled by a professional to avoid the risk of electrical shock or further damage.
- Warranty Repairs: If your stove is still under warranty, attempting repairs yourself might void the warranty. Always check warranty terms before proceeding with repairs.
Preventive Maintenance Tips
Regular maintenance can help prevent many common stove issues:
- Clean Regularly: Keep the stove and oven clean to prevent food spills from burning and causing damage.
- Inspect Elements: Regularly check burners and oven elements for signs of wear or damage.
- Tighten Connections: Periodically tighten any loose connections to ensure efficient operation.
Conclusion
Repairing an electric stove can seem daunting, but with the right tools, safety precautions, and step-by-step guidance, many common issues can be resolved quickly. By understanding the basics of electric stove repair, you can maintain your appliance’s efficiency and extend its lifespan. Remember, when in doubt, it’s always best to consult a professional to ensure the job is done safely and correctly. With a little knowledge and effort, you can keep your electric stove running smoothly and avoid the hassle and expense of frequent professional repair.